Showing posts with label homemade. Show all posts

Sunday, March 9, 2014

Homemade Almond Milk


Almond milk has been on my to do list for at least a year.  It kind of intimidated me, but once I got a certain Christmas present I knew I could tackle it.  I got a HUGE surprise under the Christmas tree this year that made me jump for joy.  I may have done a karate kick jump after I opened this present.  I'm not exaggerating.  I was looking spiffy in my new pajamas and thankfully those Christmas tree printed pants were up to the high kick bright and early.  I looked a little something like this...
 
 
I got a Vitamix!!!!  Oh, the joy!  The excitement!  The surprise! (Thank you Dad and Mom!)  The only bad news was there was no way I could get it home on the airplane.  Thankfully, my mom had it all planned and I could send it back to Houston with Josh's Dad who was driving back.  We are three hours from Houston and it took us until February to get there for a visit and to collect my beloved gift.  Once I finally got it home I knew the first thing I would try was almond milk. 
 
Why make homemade almond milk?  Here's the deal, after lots of reading about it, it can be a smidge cheaper depending on how much you pay for your almonds, but there really isn't a significant monetary savings making it yourself.  (Unlike laundry soap) I had two main reasons to make it myself.  One, I know exactly what ingredients are going in.  In my book, any time you can make something homemade, do it.  Secondly, for me personally, I waste a lot of almond milk.  I rarely make it through the whole carton I buy without throwing some out.  I try not to eat much cereal and I don't ever drink it plain so it's just hard for me to utilize it all before it goes bad.  Every time I dump it down the drain I just see dollar signs getting thrown away.  For me, it's worth it to make my own to reduce waste because I can make a smaller batch than what I buy at the store.  I'm not saying I won't ever buy it again at the store, but it's so easy to make myself it will be very infrequent.
 
An added bonus, once you make this yourself you will LOVE the taste too.  I'm not a plain milk of any kind drinker, but this stuff is delicious!
 
**I should mention that if you buy almond milk make sure it's plain or unsweetened vanilla to ensure there isn't added sugar.  There is one ingredient, carrageenan, that is in most milk substitutes that is potentially hazardous.  It's a chemical additive that is a thickener.  Jury is still out on if it harms us, (like oh so many chemical additives) so it never hurts to make your own stuff when possible. 
 
I thought I had to wait to get a Vitamix to make this, but I really think a regular blender will work!  I did a lot of research before I made my first batch and many people use their blender and it comes out fine.  What I also found in my reading was to make one purchase before I started: a nut milk bag.  (Who knew there was such a thing, right?)  I bought mine at Whole Foods for around $8 and I'm sure you could find it at many health food stores.  You can also buy one on Amazon.
 
This bag makes straining your milk a breeze.
 
My soaked almonds with water on the left and then my Vitamix doing her thing. 
 
Straining the milk through my nut milk bag.  Lots of it strains out immediately and then you have to use your hands to work the rest of it out.
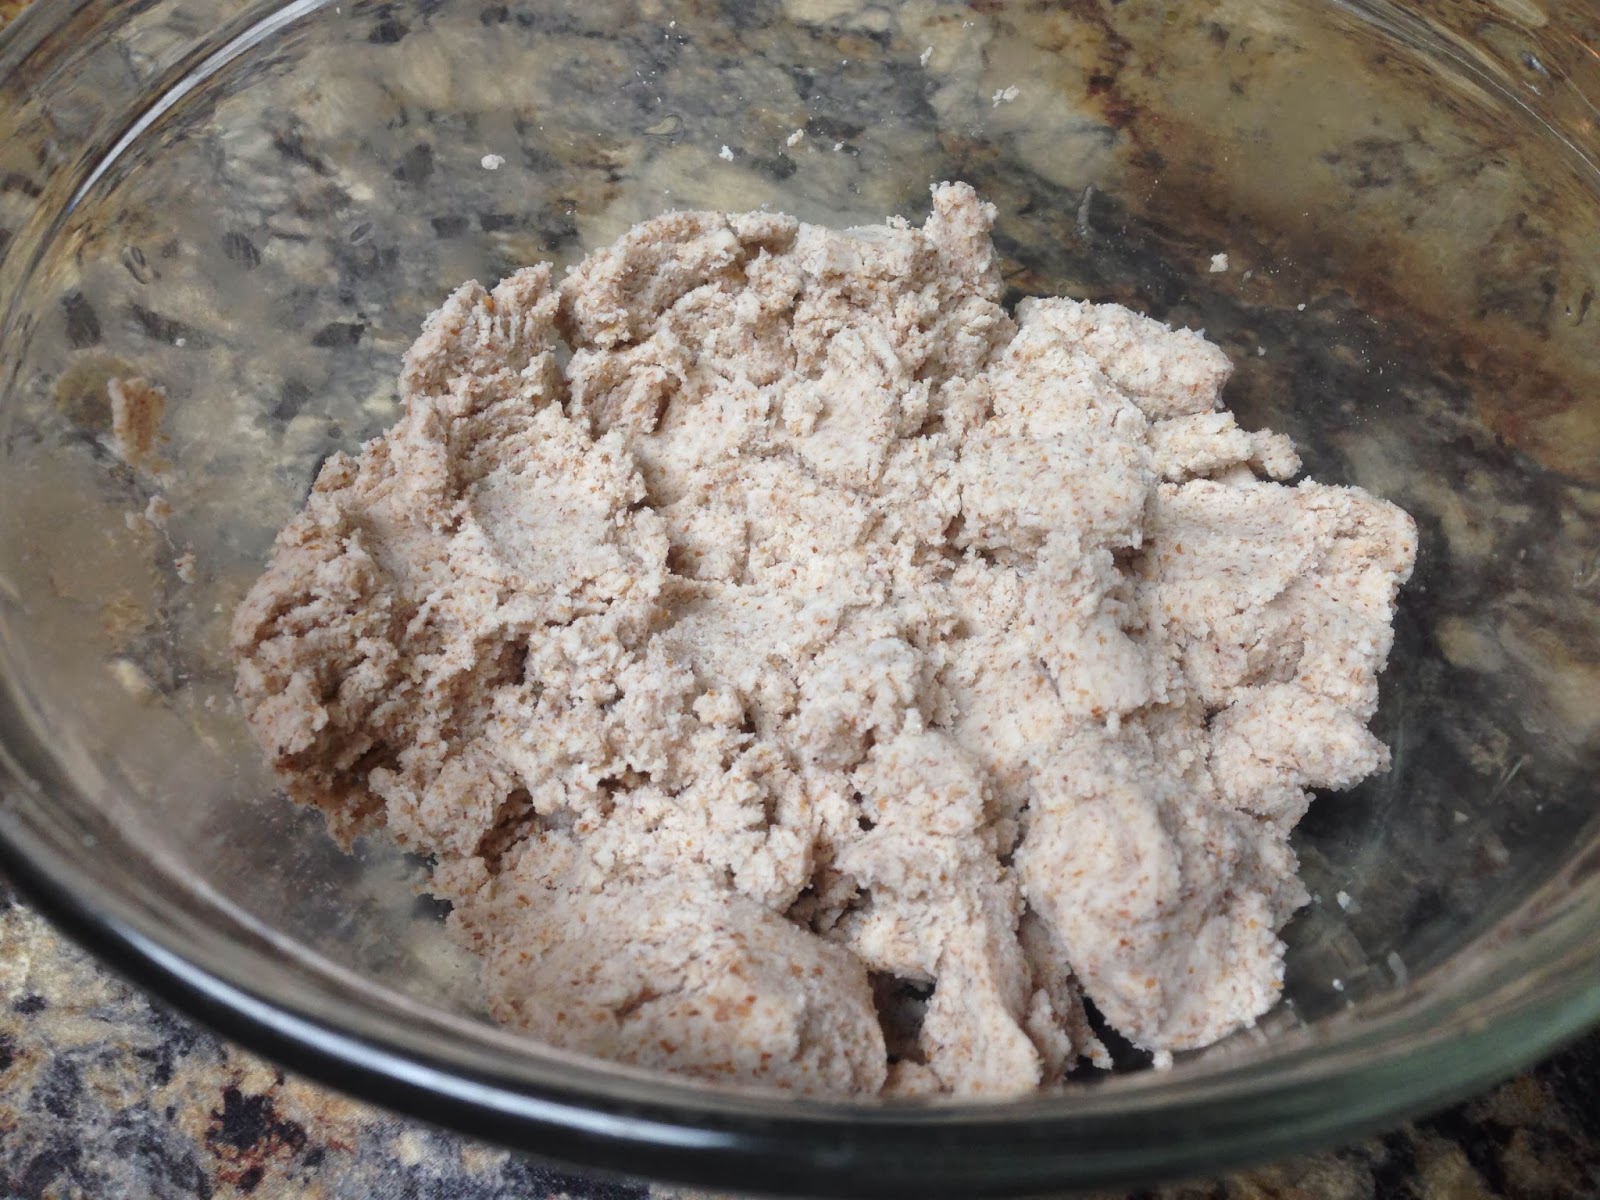
 
This is the remains of the almonds that were left in my bag.  I saved mine and tossed some in my oatmeal a few days later.  I froze the rest for later use.
 
3 1/2 cups of homemade almond milk.  Yum!
 
 
I was at Marshall's last week and found this glass milk container for $5.99.  It has a cow on the front and says milk so I suppose it's a bit wrong to put almond milk in it, but I thought it was adorable.

I made two different versions of vanilla almond milk and I liked both of them. The first one I made used a real vanilla bean.  That intrigued me, but it will definitely make your homemade version more expensive.  I have a jar of vanilla beans in my pantry so it was easy to try this recipe first.  In this version I also added cinnamon.  It was very tasty, but also quite different than any almond milk I've tried due to the cinnamon addition.

Vanilla Cinnamon Almond Milk
Recipe from: www.ohsheglows.com

Ingredients
1 cup raw almonds, soaked in water (the first picture in this post is my almonds after they soaked.  They are plump, soft and ready to blend!)
3.5 cups filtered water
1 whole vanilla bean, chopped
1/4 t. cinnamon
small pinch of fine grain sea salt
 
Place almonds in a bowl and cover with water. Soak overnight.  (I put mine in my oven so they were out of the way)

Rinse and drain the almonds and place into a blender along with your filtered water and chopped vanilla bean.

Blend on highest speed for about 1 minute.

Place a nut milk bag over a large bowl and slowly pour the almond milk mixture into the bag. Gently squeeze the bottom of the bag to release the milk.  It only takes a few minutes to squeeze it all out.

Rinse out your blender and pour the milk back in. Add the cinnamon and pinch of sea salt and blend on low to combine.

Can be stored in the fridge for approximately 5 days.  Enjoy!


If you want something that tastes more similar to the vanilla almond milk you buy at the store, follow this recipe:

Vanilla Almond Milk

Ingredients
1 cup raw almonds, soaked in water
3.5 cups filtered water
1 t. vanilla*
small pinch of fine grain sea salt
 
Place almonds in a bowl and cover with water. Soak overnight.  (I put mine in my oven so they were out of the way)
 
Rinse and drain the almonds and place into a blender along with your filtered water and vanilla.
 
Blend on highest speed for about 1 minute.
 
Place a nut milk bag over a large bowl and slowly pour the almond milk mixture into the bag. Gently squeeze the bottom of the bag to release the milk.  It only takes a few minutes to squeeze it all out.
 
Rinse out your blender and pour the milk back in. Add a pinch of sea salt and blend on low to combine.

*Leave vanilla out to made plain almond milk.
 
Can be stored in the fridge for approximately 5 days.  Enjoy!


Monday, December 2, 2013

Homemade Vegetable Broth

I got spoiled this summer not working.  I'm not going to lie, it was GLORIOUS.  I know everyone is different and some people get bored if they are home a lot.  That's not me!  When people ask, "Wouldn't you get bored not working?" I have to mask my shock.  Capital N, capital O. NO!  Never have I been bored.  My list of things "to do" is forever growing.  It may not be important stuff, but it's fun stuff and it keeps me plenty busy.  What do I do, you ask?  Well, let's just look at the past two Mondays I've had off work. 

Last week, I went to Dallas.  (2 hours away)  I found out about a display at a resort hotel called ICE.  I mentioned it to Josh and he politely declined so I took advantage of my day off and made the trip myself.  Totally, totally worth it!  Here's the description on the website:

Join Clara and her Nutcracker Prince for a magical adventure in more than 2 MILLION POUNDS of hand-carved ice sculptures and slides! Relive your favorite scenes from the classic ballet, accompanied by the original Tchaikovsky score and featuring thrilling rides down our most extravagant slides ever!

You must know my mom and I go to the Nutcracker ballet every year and I look forward to it so much.  I may not have made the drive if it wasn't Nutcracker themed this year.  But, come on, 2 million pounds of ice....I was intrigued.  So, I pulled out my hat and gloves, purchased my first Peppermint Mocha and away I went.  Pictures do no justice, but here are a few I took.

EVERYTHING in these pics is carved from ice and colored.  It was breathtaking.  I seriously might make a destination trip to Dallas every year to take this in.
 
Yes, I was borderline the creepy lady with no children, there alone just walking along.  Whatever.  I don't care.  It was awesome.  Plus, I totally refrained from going down the ice slide which would have been super fun, but I had to draw the line somewhere.
 
That brings me to today and my day off work.  I had a really rough day considering my biggest concern was where to hang our stocking since we don't have a fireplace in Texas.  I know, tragic.  Anyway, I started my day by entering a contest that you should too!  One of the blogs I follow, Mix and Match Mama announced they are giving away a $500 Nordstrom gift card.  That's right.  Go enter and then come back.  It should go without saying that if you win, you will buy me something.
 
Later in the morning, I went and visited Sunfood Farms, a farm I've been getting veggies from every week.  You all know I love me some veggies!  I was so incredibly excited to find Marty and his wife, Tammie.  They have a garden in Rogers, TX, which is about 20 minutes from me.  Normally, I meet them here in town each week and pick up my box, but they offered a visit to the garden anytime so I took them up on it this week because the weather today was absolutely incredible.  I had a blast!  In a perfect world I will develop a green thumb magically and someday have a beautiful garden.  We shall see.  In the meantime, I'll enjoy learning all about it and pick the produce of others. :)  Huge thanks for Marty for spending a couple hours showing me around and answering all my questions.
 
Picture on the right is spinach.  I picked some myself and enjoyed a delicious salad for dinner tonight.  The level of excitement that gave me was ridiculous. 
 
Top left pic is where it all begins.  Good old compost of manure.  Soil in Texas isn't ideal so that's what Marty uses for prime growth.  He has thermometers in all the piles and he had me look at one.  It was over 100 degrees in there!  I was shocked.  Pretty amazing to see it from start to finish.  Picture on the right is kale.  One of my favorite things to eat now.  He had me guess the bottom pic.  I wasn't even close.  It's garlic!  It's not ready yet, but I can't wait for some of that!
 
So, that was my morning.  Pretty awesome stuff if you ask me.  I think I made it worth Marty's time too.  I was pulling carrots and I got so excited each time I got a "big" one.  He just laughed and said he couldn't believe the joy I was getting out of it.  I've said it before...it's the little things in life.  That's all I need.  Plus, he gave me beets.  I LOVE beets.  Josh always makes fun of me when I eat them and says, "Who eats beets?"  Well, for one, I do.  They are delicious.  Plus, they always make me think of this:
 
 
Dwight owned a beet farm on The Office.  I rest my case.
 
Okay, enough of proving my point.  We can all agree, I keep myself productively busy when I'm at home.  Although, Josh may beg to differ.  He opened the fridge when he got home from work and said it looked like Jurassic Park in there with all my greens. I got him purple carrots and that was his response.  I mean, really?!  Anyway, on to the recipe.  It's an easy one!  As almost always, credit to my mama for this idea.  She read about it online somewhere and then I gave it a try.  Why I never thought of this I have no idea. 
 
Homemade vegetable broth is genius.  It minimizes waste, allows you to control the salt, and saves you money.  All you need is a crockpot and some scraps.  That's right.  Start saving your veggie scraps.  I thought it would take me awhile to collect a whole bag full, but it only took a week.  If you don't cook with a lot of fresh food it will take you longer, but it's still worth saving.  Simply start a gallon freezer bag with leftover scraps and keep it in your freezer.  Keep adding to it and when it's full you're ready to make your broth. 
 
 
My bag had onion skins, carrots (that were going bad I didn't get through), celery tops, cob from corn, spinach, garlic peels, potato skins, bell peeper tops, kale scraps, the greens from some beets and more!  You'd be surprised at all you toss in the trash when you start to save.  Once your bag is full, empty the contents into your crockpot.  (Make sure you wash your vegetables before you add them to your freezer bag.  For example-I usually don't wash onions or garlic before I peel them, but now I do so the skins are clean)
 
 
Then, fill the crockpot with water.  Turn it on low and leave it all day, overnight, whatever you want.  Just walk away.  I started mine about 9 p.m. and finally got around to dealing with it mid morning the next day.  You aren't going to hurt it by letting it simmer.
 
 
Here it is after many hours of soaking.  The thing at the top is my tea sachet from my tea pot.  I don't have a strainer so I use it as needed.  You say ghetto, I say innovative.  Anyway, simply remove the veggies and strain your broth and place in containers or freezer bags.  I measured mine out for a couple recipes I have.  I did a 3 C. bag, a 4 C. bag and a 3 1/2 C. bag.  I got 10 cups of broth, but I added a bit of water to get the exact measurements I wanted.
 
 
I've already used some of this for a batch of soup and I already have enough veggies to make some more so I plan to do that tomorrow.  I didn't add any salt to my crockpot, but you absolutely could if that's important to you.  I'd rather just add to taste in my soup or whatever recipe I'm making to control it more. 
 
Easiest recipe I will ever share with you!  Who doesn't want to save money, save on salt intake and not waste food.  You're welcome.  Now, you can use that money to buy something even if you don't win that Nordy's giftcard!  Enjoy!


Wednesday, June 27, 2012

Homemade Laundry Soap

I am going to switch gears a bit today and post a recipe, but not for something edible.  It is a link to make homemade laundry soap.  Before you quit reading, hear me out!  I made my first batch in March after seeing it on a blog and I was skeptical.  However, the cost to make it was so cheap I decided it was worth a shot.  If it did not work, I was only out $10 or so.  And guess what?  I am thrilled with it.  It is going to last me at least 5 months and, more importantly, it works!  As an added bonus the recipe states each load costs less than one cent.   Guess what that means?  I save mucho money on laundry soap and can spend that money on more exciting things, like trying a new restaurant!  J 

Back in March, just to make sure I was correct in my assessment of the soap, I gave some to my mom.  She fell in love with it as well and made a batch of her own.  (On a side note, I have an old washer, but she has a newer high efficiency one and she said this works just fine)  I told some friends about it and they wanted to make it too.  So, last night I had them over for dinner, wine and soap making.  (I’ll share my spaghetti squash with basil pesto and stuffed zucchini recipes that I made for dinner soon)  Both Katie and Brittany were in awe at the ease of preparing the soap and asked I blog the recipe.  I hope you enjoy it as much as I do!

Below are a few notes on what I did for mine:

*I have one of those rotating cheese shredders that it saves a TON of time.  I didn’t use it the first time I made it and it took awhile to shred the soap.  Last night, I shredded 3 C. for our triple batch in about 5 minutes.  If you don’t have one click here to see the one I have from Bed, Bath and Beyond.
  
*The first time I made this I did not use any essential oils and my clothes smell clean, just not scented.  I was very happy with how it smelled with no essential oils.  This time, my friend Katie had essential oils and brought them along.  Each of us added lavender to our soap and I am anxious to see how we like it.

*I used the Fels-Naptha soap she talks about.  It’s only $.97 at Wal-Mart. 
 
Homemade Laundry Detergent Recipe
*Recipe and pictures from www.dollarstoremom.com

1 cup Washing Soda
1 cup bar soap, grated (I used Fels-Naptha. She said other good options are Ivory soap, Sunlight bar soap, Kirk’s Hardwater Castile, and Zote.)
1 cup Borax
1 quart boiling water
Large bucket-I used a 5 gallon bucket with a lid

Next, grate your bar soap. As I mentioned, much easier with a cheese grader.

Boil 1 quart of water on the stove, then add the grated soap one scoop at a time until completely dissolved. (Pay close attention and stir constantly.  You may have to move it back and forth from the stove as it will boil over if you aren't careful)

Fill your bucket about halfway with hot water. I do this using my shower head. Then add the Borax and Washing Soda and stir well.

Stir in your melted soap mixture. Mix well. Fill bucket the rest of the way with hot water.

YOU’RE DONE. no kidding. well, there are some additional things you CAN do, if you wanna be fancy. One way or the other you’ll need to leave the detergent alone overnight to allow it to set. When it has set, you’ll need to mix it up again…I mean REALLY get in there and mix it up…

Use 1/4 – 1/3 cup of detergent per load of laundry