Sunday, March 9, 2014

Homemade Almond Milk


Almond milk has been on my to do list for at least a year.  It kind of intimidated me, but once I got a certain Christmas present I knew I could tackle it.  I got a HUGE surprise under the Christmas tree this year that made me jump for joy.  I may have done a karate kick jump after I opened this present.  I'm not exaggerating.  I was looking spiffy in my new pajamas and thankfully those Christmas tree printed pants were up to the high kick bright and early.  I looked a little something like this...
 
 
I got a Vitamix!!!!  Oh, the joy!  The excitement!  The surprise! (Thank you Dad and Mom!)  The only bad news was there was no way I could get it home on the airplane.  Thankfully, my mom had it all planned and I could send it back to Houston with Josh's Dad who was driving back.  We are three hours from Houston and it took us until February to get there for a visit and to collect my beloved gift.  Once I finally got it home I knew the first thing I would try was almond milk. 
 
Why make homemade almond milk?  Here's the deal, after lots of reading about it, it can be a smidge cheaper depending on how much you pay for your almonds, but there really isn't a significant monetary savings making it yourself.  (Unlike laundry soap) I had two main reasons to make it myself.  One, I know exactly what ingredients are going in.  In my book, any time you can make something homemade, do it.  Secondly, for me personally, I waste a lot of almond milk.  I rarely make it through the whole carton I buy without throwing some out.  I try not to eat much cereal and I don't ever drink it plain so it's just hard for me to utilize it all before it goes bad.  Every time I dump it down the drain I just see dollar signs getting thrown away.  For me, it's worth it to make my own to reduce waste because I can make a smaller batch than what I buy at the store.  I'm not saying I won't ever buy it again at the store, but it's so easy to make myself it will be very infrequent.
 
An added bonus, once you make this yourself you will LOVE the taste too.  I'm not a plain milk of any kind drinker, but this stuff is delicious!
 
**I should mention that if you buy almond milk make sure it's plain or unsweetened vanilla to ensure there isn't added sugar.  There is one ingredient, carrageenan, that is in most milk substitutes that is potentially hazardous.  It's a chemical additive that is a thickener.  Jury is still out on if it harms us, (like oh so many chemical additives) so it never hurts to make your own stuff when possible. 
 
I thought I had to wait to get a Vitamix to make this, but I really think a regular blender will work!  I did a lot of research before I made my first batch and many people use their blender and it comes out fine.  What I also found in my reading was to make one purchase before I started: a nut milk bag.  (Who knew there was such a thing, right?)  I bought mine at Whole Foods for around $8 and I'm sure you could find it at many health food stores.  You can also buy one on Amazon.
 
This bag makes straining your milk a breeze.
 
My soaked almonds with water on the left and then my Vitamix doing her thing. 
 
Straining the milk through my nut milk bag.  Lots of it strains out immediately and then you have to use your hands to work the rest of it out.
 
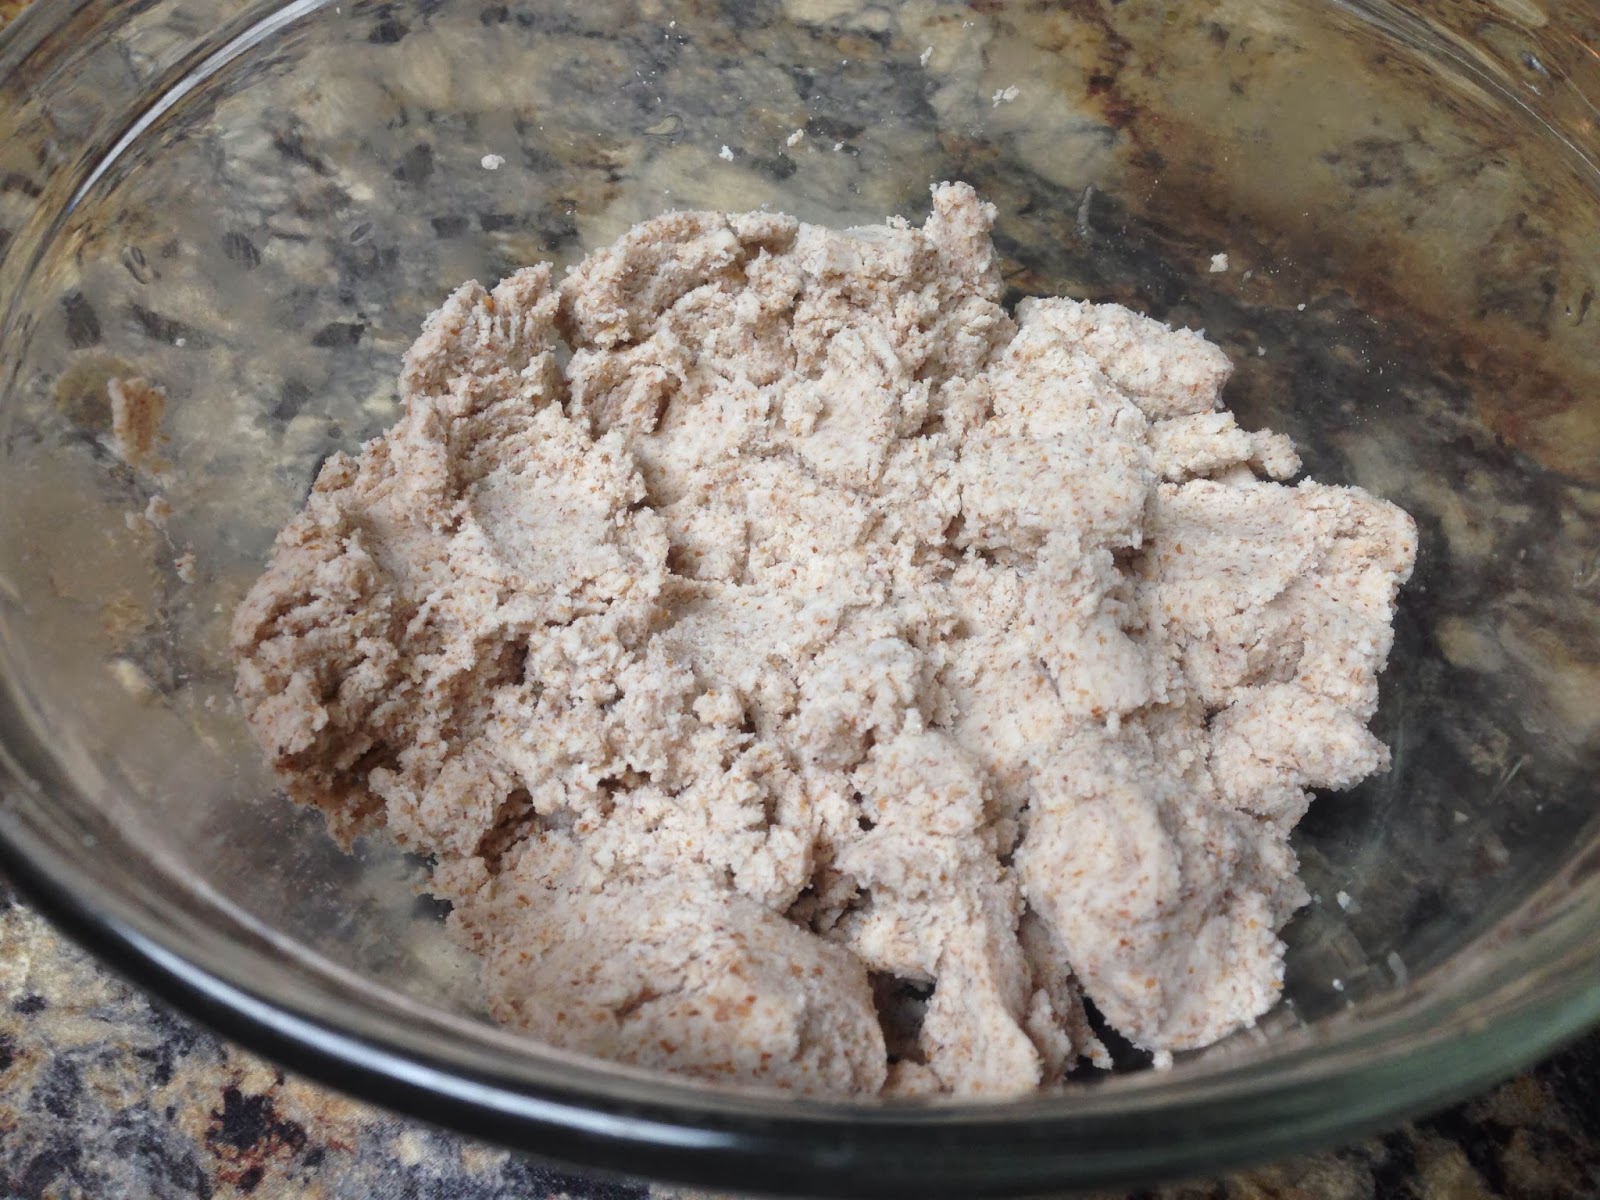
This is the remains of the almonds that were left in my bag.  I saved mine and tossed some in my oatmeal a few days later.  I froze the rest for later use.
 
3 1/2 cups of homemade almond milk.  Yum!
 
 
I was at Marshall's last week and found this glass milk container for $5.99.  It has a cow on the front and says milk so I suppose it's a bit wrong to put almond milk in it, but I thought it was adorable.

I made two different versions of vanilla almond milk and I liked both of them. The first one I made used a real vanilla bean.  That intrigued me, but it will definitely make your homemade version more expensive.  I have a jar of vanilla beans in my pantry so it was easy to try this recipe first.  In this version I also added cinnamon.  It was very tasty, but also quite different than any almond milk I've tried due to the cinnamon addition.

Vanilla Cinnamon Almond Milk
Recipe from: www.ohsheglows.com

Ingredients
1 cup raw almonds, soaked in water (the first picture in this post is my almonds after they soaked.  They are plump, soft and ready to blend!)
3.5 cups filtered water
1 whole vanilla bean, chopped
1/4 t. cinnamon
small pinch of fine grain sea salt
 
Place almonds in a bowl and cover with water. Soak overnight.  (I put mine in my oven so they were out of the way)

Rinse and drain the almonds and place into a blender along with your filtered water and chopped vanilla bean.

Blend on highest speed for about 1 minute.

Place a nut milk bag over a large bowl and slowly pour the almond milk mixture into the bag. Gently squeeze the bottom of the bag to release the milk.  It only takes a few minutes to squeeze it all out.

Rinse out your blender and pour the milk back in. Add the cinnamon and pinch of sea salt and blend on low to combine.

Can be stored in the fridge for approximately 5 days.  Enjoy!


If you want something that tastes more similar to the vanilla almond milk you buy at the store, follow this recipe:

Vanilla Almond Milk

Ingredients
1 cup raw almonds, soaked in water
3.5 cups filtered water
1 t. vanilla*
small pinch of fine grain sea salt
 
Place almonds in a bowl and cover with water. Soak overnight.  (I put mine in my oven so they were out of the way)
 
Rinse and drain the almonds and place into a blender along with your filtered water and vanilla.
 
Blend on highest speed for about 1 minute.
 
Place a nut milk bag over a large bowl and slowly pour the almond milk mixture into the bag. Gently squeeze the bottom of the bag to release the milk.  It only takes a few minutes to squeeze it all out.
 
Rinse out your blender and pour the milk back in. Add a pinch of sea salt and blend on low to combine.

*Leave vanilla out to made plain almond milk.
 
Can be stored in the fridge for approximately 5 days.  Enjoy!


Friday, February 28, 2014

All Natural Labels

I saw this video and thought it was too good not to share.  It's a nice parody on the "All Natural" label that has been slapped onto everything.  All natural does not mean healthy.  Hopefully this will help us all remember that!  Enjoy!
 

Wednesday, February 12, 2014

Cranberry Orange Butternut Squash Noodles

Someday I'm going to start a non food blog.  I've decided it's going to be called "The Little Things".  Or, something along those lines because I'm sure that name has been claimed.  I love it though because I find great joy in the little things in life.  I think it's important to notice them and recognize them.  That being said, I had a pretty amazing week last week full of "little" things.  It all started on Sunday morning.  Josh and I almost always go grab breakfast at our favorite Mexican restaurant before church and enjoy some breakfast tacos.  Instead of date night, we have date morning and I love it.  Anyway, there was another couple sitting at a table nearby and they asked if we were from Kansas.  As I looked down thinking I had totally lost it and forgot to change out of my KState sweats for church he mentioned he noticed our license plate.  In case you're keeping track, that's the second person who has noticed our out of state license plate and said something about it and welcomed us to Texas.  I think it's going to be my new go to move for trying to be kind.  I mean, seriously, it is a good way to welcome people!  Anyway, we talked a bit, but then went about our eating.  When we went to leave, they had paid for our breakfast!  I'm telling you, the nicest people live here.  And, I really think that's saying a lot because the Midwest is pretty stinkin' friendly as well. 
 
While that completely made my day that's not the end of my fantastic Sunday.  We headed to church and turns out I was in for a delightful sermon.  One of the assistant pastors was teaching.  Don't get me wrong, I love our pastor.  However, when Austin preaches, I'm really all ears.  Allow me to paint a little picture for you.   Actually, just look at this one. 


I think we can all agree Mr. Mcconaughey is not only good looking, but his voice is unlike any other. (Cue the radio ad for beef he did.  Yowzas.)  It's his smooth, southern, sexy voice that makes you just want to close your eyes and listen.  Well, his voice double was preaching right here in Temple, TX and it was glorious.  Can I get an amen?!

Just those two items on Sunday were enough to make a girl thankful, but it got even better later in the week when I tried out my new SPIRALIZER.  If you follow me on Instagram you know my excitement.  Yes, I'm that girl who always posts food picture and no, I will never apologize for it. 
 
I would like to introduce you to the new item that you should all go buy immediately.

 
It looks intimidating, but it's super easy to use.  I first heard about it from www.ohsheglows.com and it's been on my wish list for months.  Once I went gluten free I knew I just had to try it.  You can find it here.
 
I made cranberry orange butternut squash noodles.  Honestly, I would not have picked this recipe except for the fact that when I decided to use my spiralizer I needed a recipe that I already had all the ingredients for.  Otherwise, I would have looked at it and thought it would be too sweet for me.  WRONG.  It was superb!  So delicious, in fact, that I made it again that night for dinner.  I was so excited I literally had visions of throwing a Spiralizer party.  I'm cool like that.  (Can you say, nerd alert?!)
 
 
Cranberry Orange Butternut Squash Noodles
Recipe from: www.inspiralized.com

Ingredients
 
For the glaze:
 
1/4 cup maple syrup
1/4 cup water
1/4 cranberry juice (I used 100% pure apple juice because I had some leftover from another recipe)
1 cup cranberries (I used a mix of cranberries and currants and used a little less than this recipe calls for to cut down on sugar)
1 tsp orange zest
1/4 cup freshly squeezed orange juice from your orange
salt and pepper, to taste
 
For the rest:
1 butternut squash, peeled and made into noodles
cooking spray
salt and pepper, to taste
1/2 cup pecans
honey, to drizzle (I didn't do this as I didn't feel it needed it)
 
Instructions
Preheat the oven to 400 degrees.
 
Place a medium saucepan over high heat and place in all of the ingredients for the orange-cranberry glaze. Cover and bring to a boil. Once boiling, reduce the heat to low and simmer for about 15 minutes or until sauce thickens and liquids reduce. When done, turn off the heat, pour into a bowl and let thicken as it cools.
 
While the glaze is cooking, get ready to bake your noodles. Place them in a baking tray coated with cooking spray. Season generously with salt and pepper. Set aside.
 
Once the glaze is done and you've turned off the heat and set it aside in a bowl, bake the noodles for 5-7 minutes or until noodles wilt and become soft. Remove from the oven and pour into a serving bowl.
 
Then, in one of the baking trays used, add in the pecans. Drizzle with oil and place in the oven for 3 minutes.
 
While the pecans are roasting, stir your glaze and pour it on top of your noodles, carefully. Once the pecans are done, place them on top of the glazed noodles.
 
Before serving, toss the noodles, glaze and pecans so that the glaze coats all of the noodles.

That's it!  It really was very simple and oh so tasty!


This picture is ugly (okay, even uglier than my pics usually are), but I also made some zucchini noodles with black beans, tomatoes, peppers and plantains on top a couple days later.  I felt super fancy and it was so yummy.  You all will come to my Spiralizer party, right?!  I'll share this recipe later because you all need some time to go buy your own noodle maker!
  
In case you're wondering, my amazing little things streak did end yesterday.  No worries, my life is still very blessed, but I did want to snap at the Lulu sales chick that was making me crazy.  Here's the deal.  In my mind, the perfect salesperson at a retail store greets you and then hangs out in sight somewhere so that should I need you I can find you and ask a question.  Until then, back off.  I'm a big girl who can make my own decisions.  I'll ask you if I care for your input.  I am not kidding when I say, everything I touched she had a comment for.
 
Oh, those ear warmers are the best.  You know they have a reflective trim?  (I held back my angry eyes by not looking at her when spoke to me hoping she'd get the hint)
 
That jacket is soooo great.  It even has a hood.  Super perfect for a rainy day like today. (I'm sorry, what part of me as I read the tag that says it's a water resistant jacket made me look like I was still in question?)
 
Those shorts are fabulous.  Can I start you a fitting room? (No, you can't because they aren't my size and just because I touch something doesn't mean I want it or want your help!)
 
Don't worry.  I didn't really respond with those answers.  I was polite, but come on!  Anyway, instead of going to Lulu you should go to Amazon and buy a Spiralizer so you can make this recipe!  Enjoy!


Saturday, February 1, 2014

Spaghetti Squash Pizza Bake


Last weekend we had visitors!  My grandparents spent a couple weeks in Arizona and on their way back they went a bit out of the way and came to visit us for a few days.  Josh had to work most of the time, but the three of us had a great time and they helped me check something off my list of places to visit before we move.  My brother's girlfriend, Luisa, told me about a town called Lockhart that is the "BBQ capital of Texas".  Now, let's get this straight-yes, I know you can't compare anything to Kansas City BBQ.  Those Kansans have it down and there's nothing better.  (Side note: Shout out to Oklahoma Joe's for adding a portobella mushroom Z-man so us vegetarians can FINALLY eat there.  I ate one over Christmas and it was superb.  Get one.  Stat.)  Anyway, I went to Lockhart fully aware that it wouldn't be like KC, but it was fun to taste different sauces and see how food is cooked in other parts of the United States.  There are four different restaurants in Lockhart.  We went on Sunday after church and one of them was closed on Sundays so we were only able to visit three.  Thankfully, my work had been done for me and Luisa told me exactly what to get at each place.  She's the best.  First stop, Smitty's for some pork ribs.  I know what you're thinking...how did I enjoy this trip?  Well, that's why I took two fellow meat lovers and that way I could just take a taste, get the experience, but not really eat a whole meal.  It worked out perfectly!  Smitty's atmosphere was very original in that they had their flames for their meat all on the floor throughout.  Which, gave me slight anxiety for all children present while I was in line, but I guess, just hold on TIGHT if you bring them.


 Enjoying Smitty's ribs.  Yes, I ate a few very small bites.  You only live once. 
 
Our next stop was Black's BBQ for some brisket.  Let me just say one thing before we get too much further.  When I was in college and still a meat eater, I requested the same meal every time I came home from my mom.  Brisket and cheesy potatoes.  I loved me some brisket.  I showed extreme restraint and only ate a half of piece of brisket from Black's.  Here's the deal.  My taste buds have changed and I don't miss meat at all.  Chicken tastes gross now and hamburger makes me want to gag.  But, one bite of this brisket and it brought me back to walking in the door from Nebraska and this yummy dish in the oven.  So, maybe that's why brisket didn't gross me out.  Or, maybe it's just because Smitty's is known for it and people travel from all over to eat it so it's just reeeeaaalllly good.  Whatever the reason, it was a delicious two bites and the BBQ sauce, while much different than KC sauce, was fantastic!  After some debate, this ended up being our favorite stop.  My grandparents particularly enjoyed the atmosphere here as there was a whole wall filled with pictures of famous people who had eaten there as well as old time country music.  It's hard not to get into the BBQ tasting mood with Johnny Cash blaring.


Our last stop was Chisholm Trail.  Luisa told us to go here last because she thought it was the least impressive and she didn't lead us astray.  She was right; if we had to rank them this would be last, but we still enjoyed our food.  My grandpa got a sausage, which I just couldn't bring myself to take a bite of, but I devoured some green beans and potatoes here.  I should also note that it was Sunday afternoon around 2 when we arrived in Lockhart and we waited in a fairly long line at each place.  It really is the BBQ capital of Texas and quite a popular destination.
 
It was my grandpa's birthday on the day we took this trip to Lockhart and I think he had a memorable day!
 
Now, on to the baked spaghetti squash.  We stayed home all day on Friday when my grandparents got there and I had some of this leftover in the fridge and my grandma loved it. Guess what?  So did Josh!  Okay, well, LOVE might be a tad strong, but he liked it on Meatless Monday which is a huge deal.  He's so hard to cook veggie for because he likes about 3 vegetables.  It's super, duper easy to make and you must give it a try.  Plus, you can pretty much add anything to make it to your liking.
 

I added spinach, tomatoes, and mushrooms because this was kind of a last minute decision and it's what I had in my fridge.  If you eat meat add Italian sausage, pepperoni, or hamburger.
 
Going into the oven.  I planned on mixing in mozzarella cheese, but then didn't have any.  Whoops.  So, I just grated some fresh parmesan on top. 
 
 
I love that the egg keeps it together and it isn't a casserole that just mushes on your plate.  It's very easy to cut into squares and put nicely on your plate.  Healthy, delicious, and easy.  It's a winner!
 
Also, this recipe calls for pizza sauce.  I think Trader Joe's is the best purchased sauce, but I didn't have any.  Plus, my friend Katie taught me a much cheaper way to make pizza sauce.  Just take a can tomato paste and add water until desired consistency and add some Italian seasonings.  Easy peasy and super cheap.  That's what I did for this recipe and I think I added exactly one can worth of water and it equaled the amount of sauce called for in this recipe. 
 
I started following a few gluten free blogs since going gluten free.  I saw this one and knew I had to try it. 
 
Spaghetti Squash Pizza Bake
Recipe adapted from: http://paleomg.com/
 
 
Ingredients
1 large spaghetti squash
½ yellow onion, diced
1 cup pizza sauce
1 teaspoon dried basil
salt and pepper, to taste
3 eggs, whisked
1/2 C. mozzarella cheese, optional
Parmesan cheese to sprinkle on top, optional
Toppings of choice: basil, mushrooms, tomatoes, bell peppers, etc.

Instructions
Preheat oven to 400 degrees.
 
Cut spaghetti squash in half lengthwise and scoop out seeds.  Place spaghetti squash cut side down on a baking sheet and bake for 20-25 minutes or until the skin of the squash gives when you press on it. Then reduce oven heat to 350 degrees.
 
Once squash is done cooking, remove threads and place in an 8×8 greased baking dish.
 
Place a large pan over medium heat and cook onion in oil.  Add remaining vegetables and cook 3-5 minutes until soft.
 
Add pizza sauce, dried basil and salt and pepper to the pan and mix well.
 
Add spaghetti squash threads to the pan and mix well.  Add the mozzarella cheese if using.
 
Lastly, add whisked eggs to the pan and mix everything together until you can no longer see the eggs.
 
Pour into a greased 8x8 pan and sprinkle with parmesan cheese if using it.  Place in oven and bake for 1 hour or until the top of the mixture forms a slight crust that doesn’t give when you press on it in the middle of the dish.
 
Let rest for 5 minutes before serving.
 
Enjoy!


Monday, January 13, 2014

Homemade Crackers


I am pretty pumped because one of my friends read my blog post, read Wheat Belly AND went gluten free.  I am excited because now I have another person to compare recipes with!  Super exciting.  

I really have found not eating gluten to be easier than anticipated.  I rarely ate sandwiches before and I have no problem swapping out pasta for spaghetti squash.  However, there was one problem.  And it was a gigantic problem. 

Hummus.

Bruschetta.

You know, all the things that tortilla chips (which I can eat-yay!) aren't dipped into.  I LOVE both of these foods and have fabulous recipes for both thanks to my friend Katie.  If you've ever looked at the store, there are now quite a few options for gluten free crackers, but many of them have lots of ingredients in them and aren't very healthy.  While there are a few I have found that I like and don't seem to have too many unfamiliar ingredients they are crazy expensive!  Who wants to pay $5 for a small box of crackers?  Not me.  Not ever.  I actually have had this recipe saved for awhile, but finally tried back in November when I cut out gluten and I have been hooked ever since.  They are so easy to make, don't have weird ingredients in them and taste sooooooo good.  Seriously, the only thing I messed up is not doubling the recipe.  Now, I know better. Trust me, make some for yourself and you will see.  I joked at Christmas when I was going to parties that I'm going to start carrying a bag of these in my purse so I can eat dip wherever I go.  I was sort of joking; sort of not.  Don't be offended if I show up to your house one day and pull a bag of these bad boys out.  If you're nice I'll share and you can enjoy the yummy goodness with me. 

The only ingredient I didn't already have in my pantry was nutritional yeast.  I had to ask where to find it at Natural Grocers and it was over by the vitamins.  It's an inactive yeast and it has a bit of a cheesy flavor so lots of vegans use it.  I had read about it, but never purchased any until this recipe.
 
 
While you can use a rolling pin I think it's easier to just use your hands to smash it and roll it out.  Get it as thin as possible.
I used a pastry scraper to cut mine into crackers.  You could also use a pizza cutter.

 The recipe says to cook for 18-20 minutes, but I say check it at 20 and then leave it in for about 5 minutes more.  My first batch tasted delicious, but were a little soft for my liking.  If you leave them in longer they will get crunchier and I have had no problem with them burning.

 How pretty are my crackers with my hummus?


Vegan and Gluten Free Homemade Crackers
Recipe from: www.ohsheglows.com

Ingredients:
1/2 cup brown rice flour
3/4 cup almond flour
2 tbsp ground flax
1 tbsp nutritional yeast 
1/4 tsp garlic powder
1/2 tsp kosher salt
1/2 tsp dried thyme
1 tsp dried rosemary
scant 1/4 tsp baking soda
2 tbsp sesame seeds
1/4 cup water
1/2 tsp olive oil
 
Preheat oven to 350F and line a baking sheet with parchment.

In a large bowl, mix together the dry ingredients. Add wet ingredients and mix well with spoon. Knead dough with hands until it comes together. Shape into a ball.

Place ball of dough on parchment paper or a non-stick mat. Roll out dough until it’s about 1/8th inch thick, or as thin as you can get it without ripping. With a pastry wheel or pizza slicer, slice into crackers

Bake at 350F for 18-20 minutes until slightly golden in color.

Cool on baking sheet for 10 mins. Store in air-tight container once fully cool.

Enjoy!